Have you ever dropped your disposable vape in the water? Or has something ever spilt over it? We understand it affects your device, making it impractical and bothersome. Luckily, there is a solution: learn how to remove water from a disposable vaporiser.
What happens if the disposable vape gets wet?
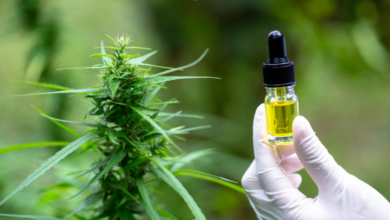
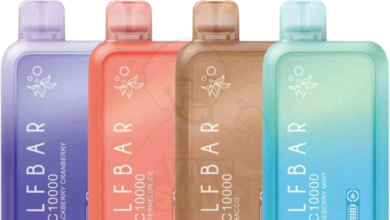
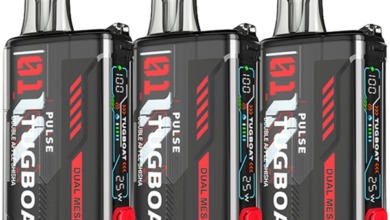
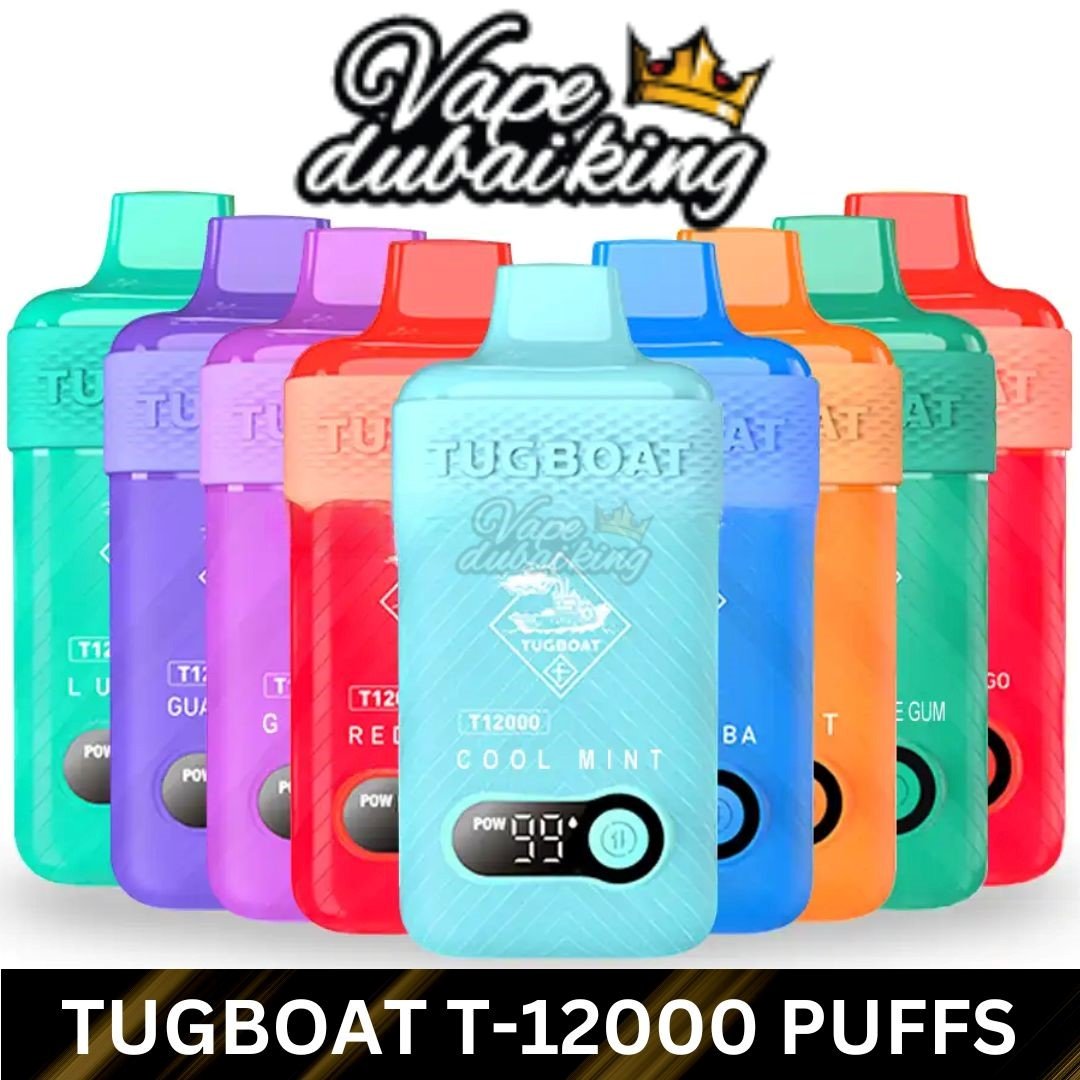
The popularity of e-cigarettes and disposable vapes, such as the Elf Bar vape and Tugboat vape, has gained momentum as alternatives to traditional methods of tobacco consumption. These devices are reasonably convenient if you are on the go and healthy. However, the truth remains that water damages them as fast as it does with any other electrical gadget.
Water Removal Equipment: Disposables Vapes
Every day products needed to repair a wet disposable vape are:
- Paper towels or a clean cloth
- A small container or plate
- uncooked rice
- An optional hair dryer
See also: STYLE MEETS SIMPLICITY IN THE NERD CRYSTAL DISPOSABLE
DIY Hints: Removing Water From a Disposable Vape
It is essential to understand that it might not work well despite prompting one to try and fix the disposable vaporiser, as it might result in permanent damage. Water seeping inside must have been too much, and the best alternative is to throw it off and buy another one.
Step 1: Remove Cartridge and Battery
Remove the battery from the vape device. Use fingers or a small screwdriver to reach under and remove the battery cover or access panel. At this point, the batteries should be visible. Very carefully remove the batteries from the slots without damaging circuit connections or other device components.
Step 2:Dry the vaporiser from the outside.
Use clean draper or wet cloths to perfectly dry and clean the vape, and try to cover the tight spaces through which water gets inside.
Step 3: Remove From the Interior of the Vape the Water Present.
Then, completely take out all water visible in the inside of the equipment by means of a dry paper towel or other soft material. The internal circuit of this equipment should not be washed or scratched as it may damage it.
Step 4: Leave to air dry
Once it is dried up as much as possible, put it in a dry place for at least 24 hours for it to dry up completely. Never use the device until you are entirely sure it is dry.
Step 5: Reassemble the Vape and Test It
Finally, after having dried out the disposable vape, the connection has to be restored. Before reinstalling, ensure cartridge security by either screwing onto the battery section first and exposing the device to damage. The power button is pressed five times lightly to turn it on once again after it has all gotten back in place.
Check that the vaporiser is operational before using it after it has been put back together. If it’s still not working correctly, it could be time to replace your e-cigarette.
Conclusion
Such are the accidents that happen in everyone’s life, irrespective of whether senior vapers have been through this or underage newbies. And the best thing is, damage due to water is a life skill in itself. Removing water from a disposable vaporiser is just another opportunity to flex those problem-solving muscles.
Who knows? You might even appreciate some do-it-yourself vape upkeep while you’re at it. Once finished, visit our internet shop to get your chosen Tugboat vape or Elf Bar vape. Need a fresh flavour to commemorate your fix? We are waiting for your most recent arrivals. Keep it smooth and clean so a blocked appliance doesn’t destroy your mood. happy vaping!